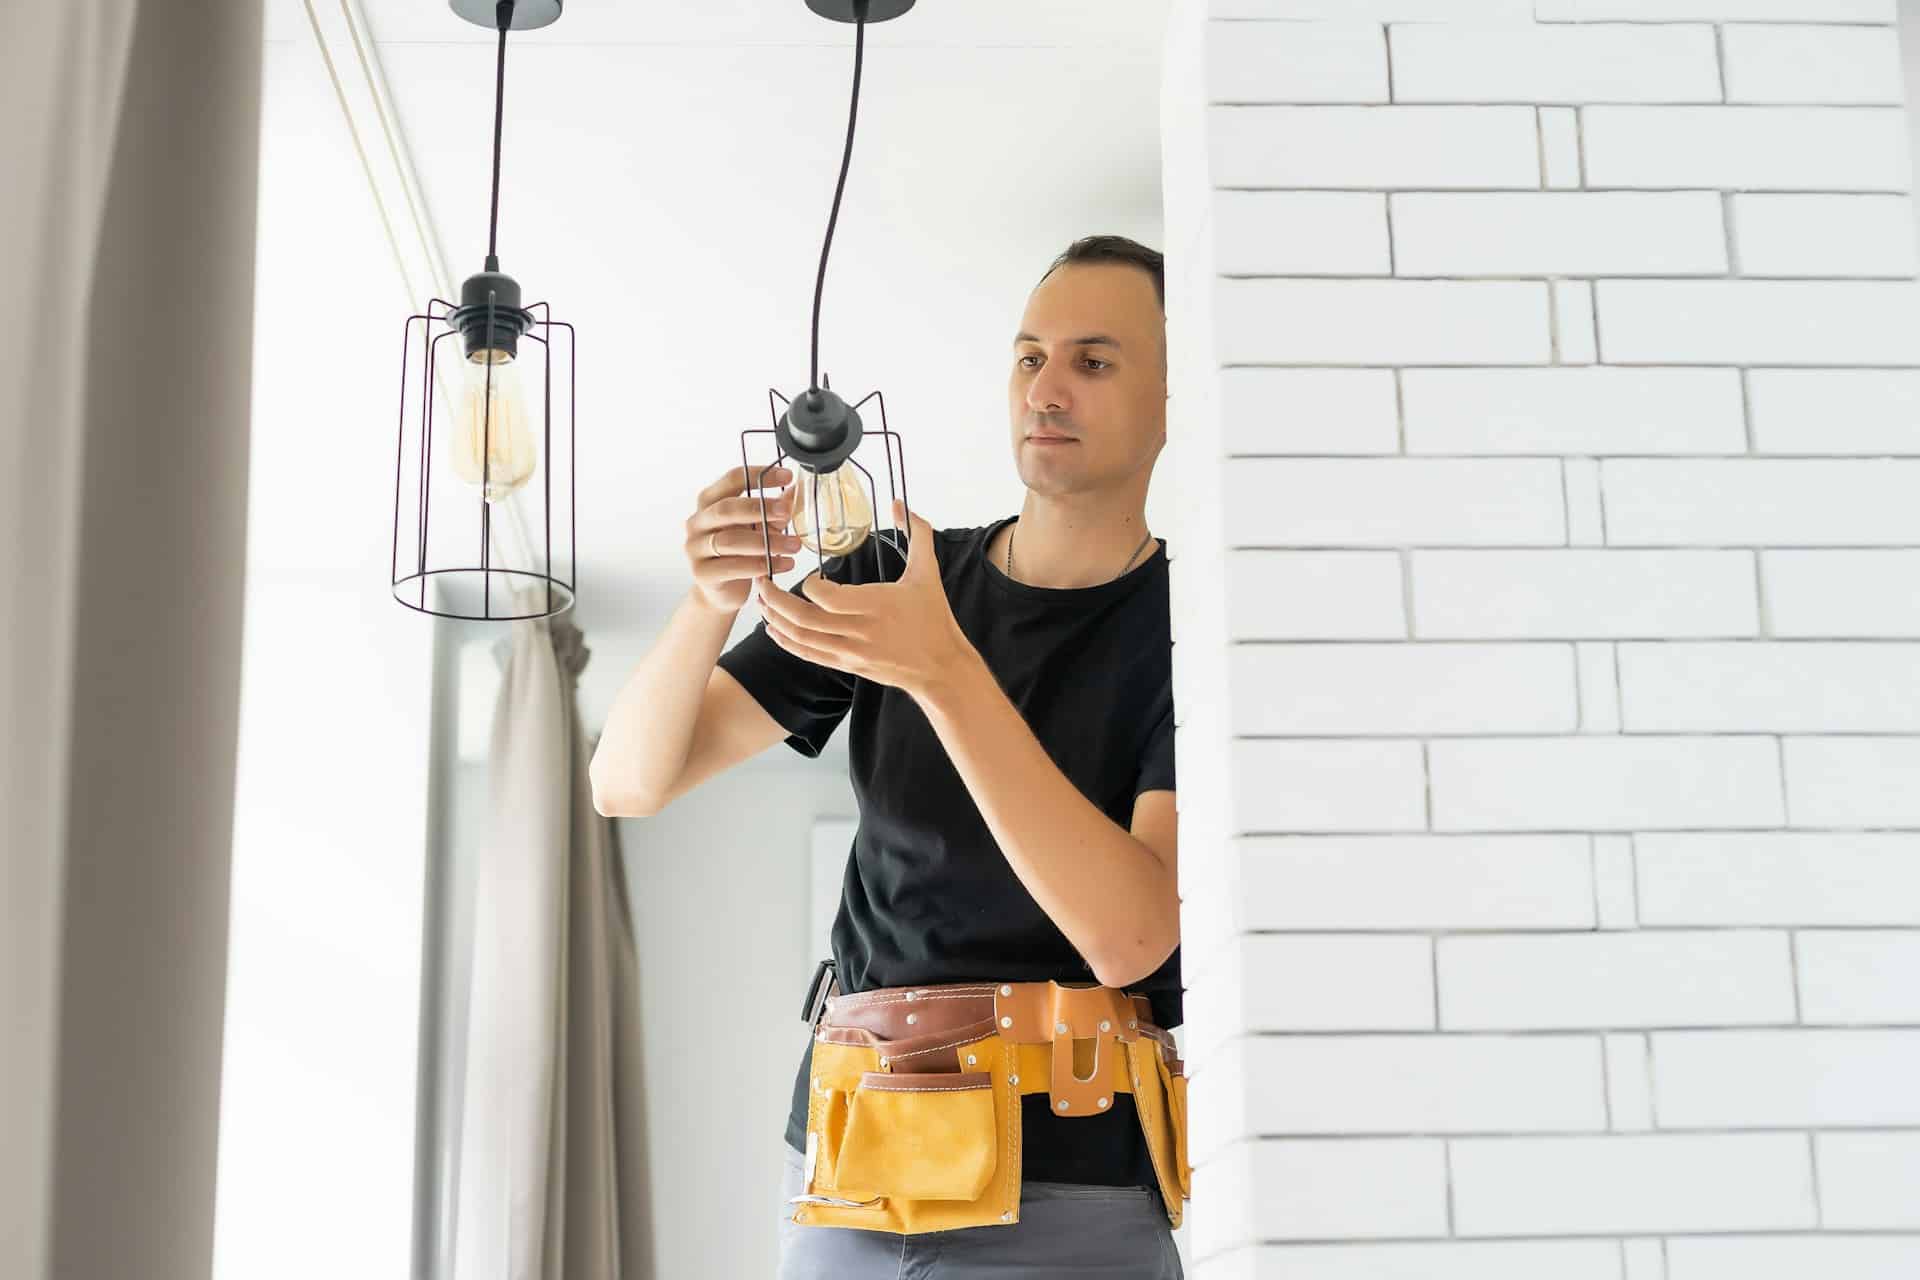
Thinking about refreshing your home with new light fixtures? It’s a fantastic way to enhance both the look and feel of any room. Light fixtures can change the ambiance and add a touch of style to your space. But before you grab a ladder and start the job on your own, it’s important to understand that installing light fixtures involves more than just screwing in bulbs. Safety is a huge concern when dealing with electricity. Reaching out to a qualified electrician can be one of the smartest moves you make.
Choosing to install light fixtures is more than a simple home improvement task. It’s about ensuring each step of the process is handled with care. Mistakes can not only damage your fixtures but might also pose risks to your home’s electrical system. This article guides you through the basics, so whether you’re swapping out an old chandelier or putting in recessed lighting in the living room, you’ll have a head start on what to consider before installation begins.
Assessing the Area and Choosing the Right Fixture
Before starting any installation project, take a good look at the space where you plan to update or install new light fixtures. Understanding the room’s layout, current light sources, and purpose can help you make the right choice. Here’s how you can make smart decisions:
– Room Size and Function: Consider the size of the room and what activities will take place there. A larger space like a living room may need more substantial fixtures than a cozy reading nook. For example, a ceiling fan light fixture in a living room provides both illumination and airflow, creating a comfortable and bright space.
– Existing Decor and Style: Think about the current decor style. Sleek, modern fixtures might look out of place in a room with vintage furniture. Coordinate the fixture’s design to complement your existing decor.
– Lighting Needs: Decide how much light the room requires. Kitchens and workspaces might need brighter lighting compared to bedrooms where soft, ambient light is more fitting.
– Placement: Determine where the fixture will hang. Over a dining table? In a hallway? The placement can affect how light fills the room, so plan accordingly.
Choosing the right fixture involves these considerations to ensure it meets your aesthetic and functional needs. Once you’ve narrowed down your options, you’ll be ready to gather your tools and move on to the next phase of your project. This groundwork supports a more efficient installation process and ensures the final result enhances your home just the way you envisioned.
Gathering Tools and Materials
Now that you have a fixture picked out and a spot in mind, it’s time to gather everything you’ll need for the installation. Having the right tools and materials can make the process smoother and safer. Here’s a handy list to get you started:
– Screwdrivers: Both flathead and Phillips types
– Wire Strippers: To handle and prepare wires safely
– Voltage Tester: Verify that the power is off before working
– Ladder: Sturdy and reliable for reaching ceiling fixtures
– Wire Nuts: Secure wire connections neatly
– Electrical Tape: To insulate connections
– Safety Gear: Gloves and goggles to protect yourself
Double-check that you have all these items before beginning the work. Safety gear is particularly important since it can prevent injuries when working with electricity. It’s a good idea to lay out all your materials beforehand, so you’re not scrambling to find something mid-task.
Preparing for Installation
Once you’ve gathered everything you need, it’s crucial to prepare the area for installation. Here are the steps to set the stage for a smooth installation process:
1. Turn Off Power: Locate the circuit breaker related to the area where you’ll be working and switch it off. Use your voltage tester to confirm the power is completely off.
2. Remove the Old Fixture: Carefully take down the old fixture by unscrewing it from the ceiling or wall. Support the fixture with one hand while unscrewing to prevent it from falling.
3. Prepare the Wiring: With the old fixture out of the way, examine the wiring. Use wire strippers to trim and clean the existing wires if needed. They should be ready to connect to the new fixture without any frayed ends.
During this preparation stage, take your time. The goal is to make sure everything is set for a proper installation, minimizing any potential hazards. Double-checking your work models good practice and ensures your home’s wiring remains intact and safe.
Installing the New Light Fixture
With all the preparation complete, you’re ready to install the new light fixture. Proceed methodically to ensure each connection is secure and correct.
– Connect the Wires: Match each wire in the fixture to the corresponding wire from the ceiling. Typically, this involves connecting black to black, white to white, and the grounding wire to its counterpart. Use wire nuts to secure these connections snugly.
– Secure the Fixture Base: Once the wires are connected, carefully push them into the ceiling box. Align the fixture base with the mounting bracket and screw it in place securely.
– Install Bulbs and Covers: Before putting up any decorative covers, you might want to install the bulbs to be sure everything fits correctly. After checking, attach any decorative covers or shades to complete the look.
Taking these steps carefully prevents any loose connections, ensuring the fixture is stable and reducing the chance of electrical faults.
Testing and Final Touches
With the installation finished, it’s time to make sure the fixture works and everything is tidy. Here’s what to check:
1. Power On: Flip the circuit back on and use a switch to test the new light fixture. Look for steady light to confirm everything’s connected right.
2. Adjustments: If needed, make any tweaks to ensure the fixture is straight or aligned perfectly. Double-check all fittings and cover any wire nuts with electrical tape if needed for added safety.
3. Clean Up: Finally, tidy up the area by disposing of old fixture parts and gathering any stray tools. Dust the fixture to leave a clean, finished appearance.
Testing and applying these final touches guarantee that your new light installation both works well and looks great. Following these steps will not only brighten up your home but also provide peace of mind knowing the job was done correctly. With a professionally installed look and function, you’ll enjoy a refreshing change in any room.
To ensure your new light fixtures are installed safely and effectively, consider entrusting the work to professionals. Azael Electrical offers expert services that help avoid common installation pitfalls and ensure a seamless finish. If you’re looking to upgrade your home’s lighting, learn more about their comprehensive electrical installation services today. Experience the convenience of having skilled technicians handle your lighting needs, guaranteeing both quality and peace of mind.

